030. Mail sending with Rails.

Bài này hướng dẫn về việc setup send mail trong Rails, thực ra cũng cơ bản, chẳng qua ghi lại để bữa sau copy paste cho lẹ.
1.Register Sendgrid key
Hiện tại thì có kha khá mail services tương tự Sendgrid như Mailtrap, Mailgun, AWS SES, Mailchimp … Việc setup sẽ tương tự nhau, vì đã quen dùng Sendgrid nên mình sẽ hướng dẫn cách setup với Sendgrid.
Sau khi đăng kí account, thì khi vào dashboard, trước tiên hãy xác thực sender (người gửi mail). Ở đây có 2 option, một là xác thực tên miền, cách này sẽ giúp bạn có thể gửi mail từ bất kì mail nào thuộc tên miền, cũng như có độ xác thực cao hơn bởi DMARC. Cách còn lại là xác thực một địa chỉ mail cụ thể, và thường chỉ dùng để test nhanh, khi dùng cách này thì khả năng nhiều là email của bạn sẽ bị đánh dấu là spam.
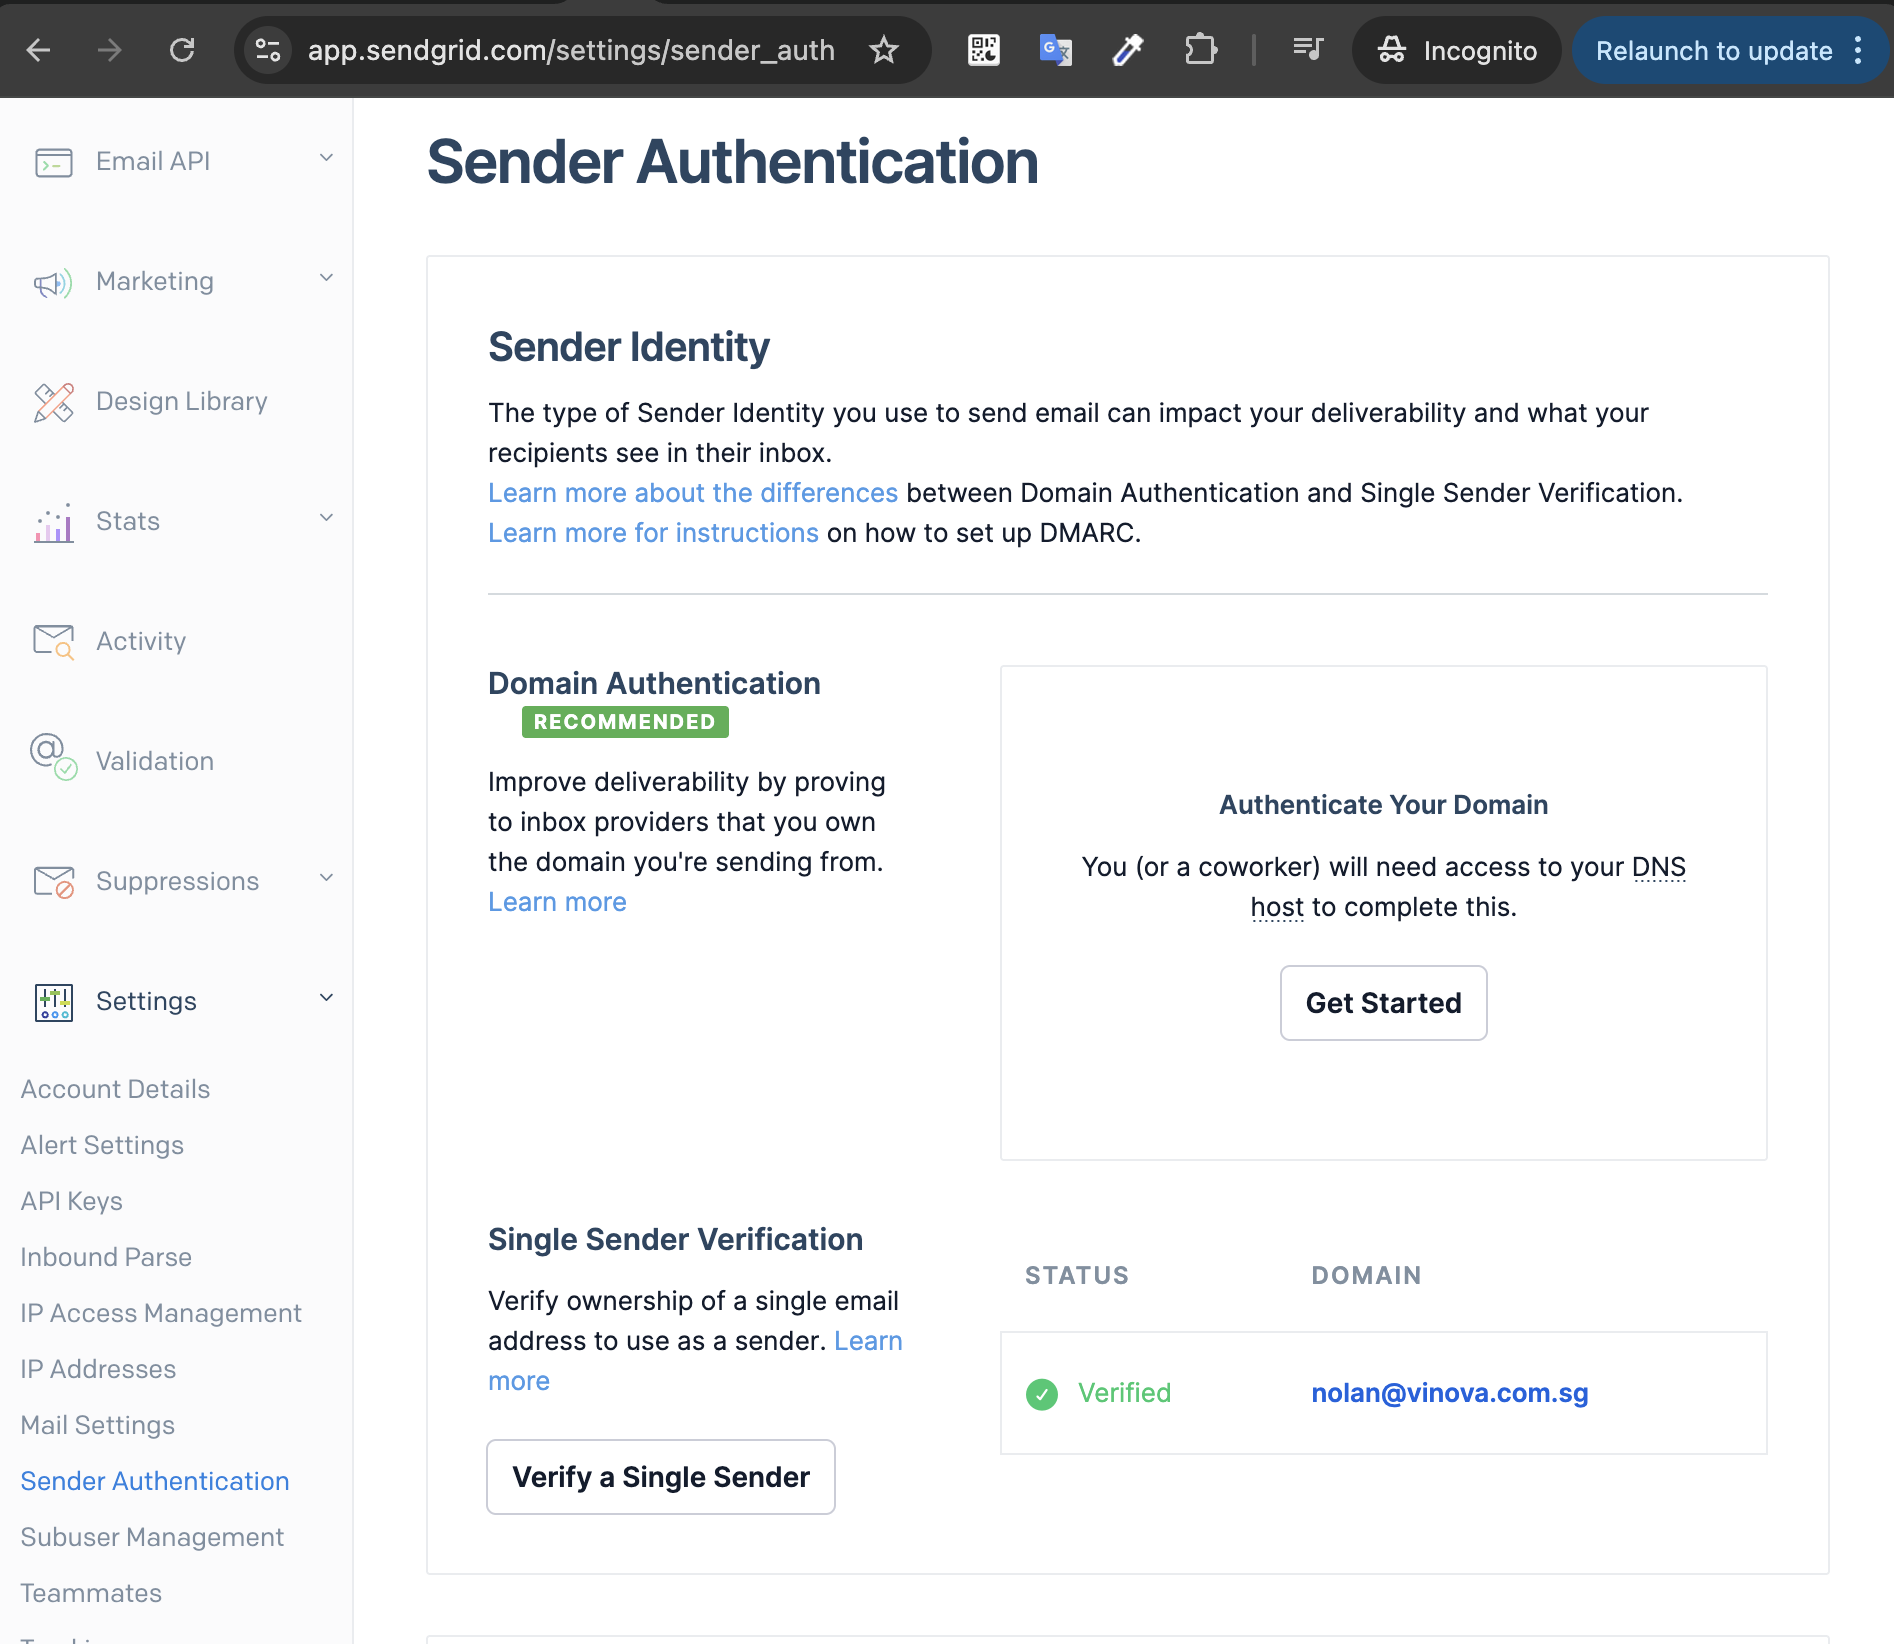
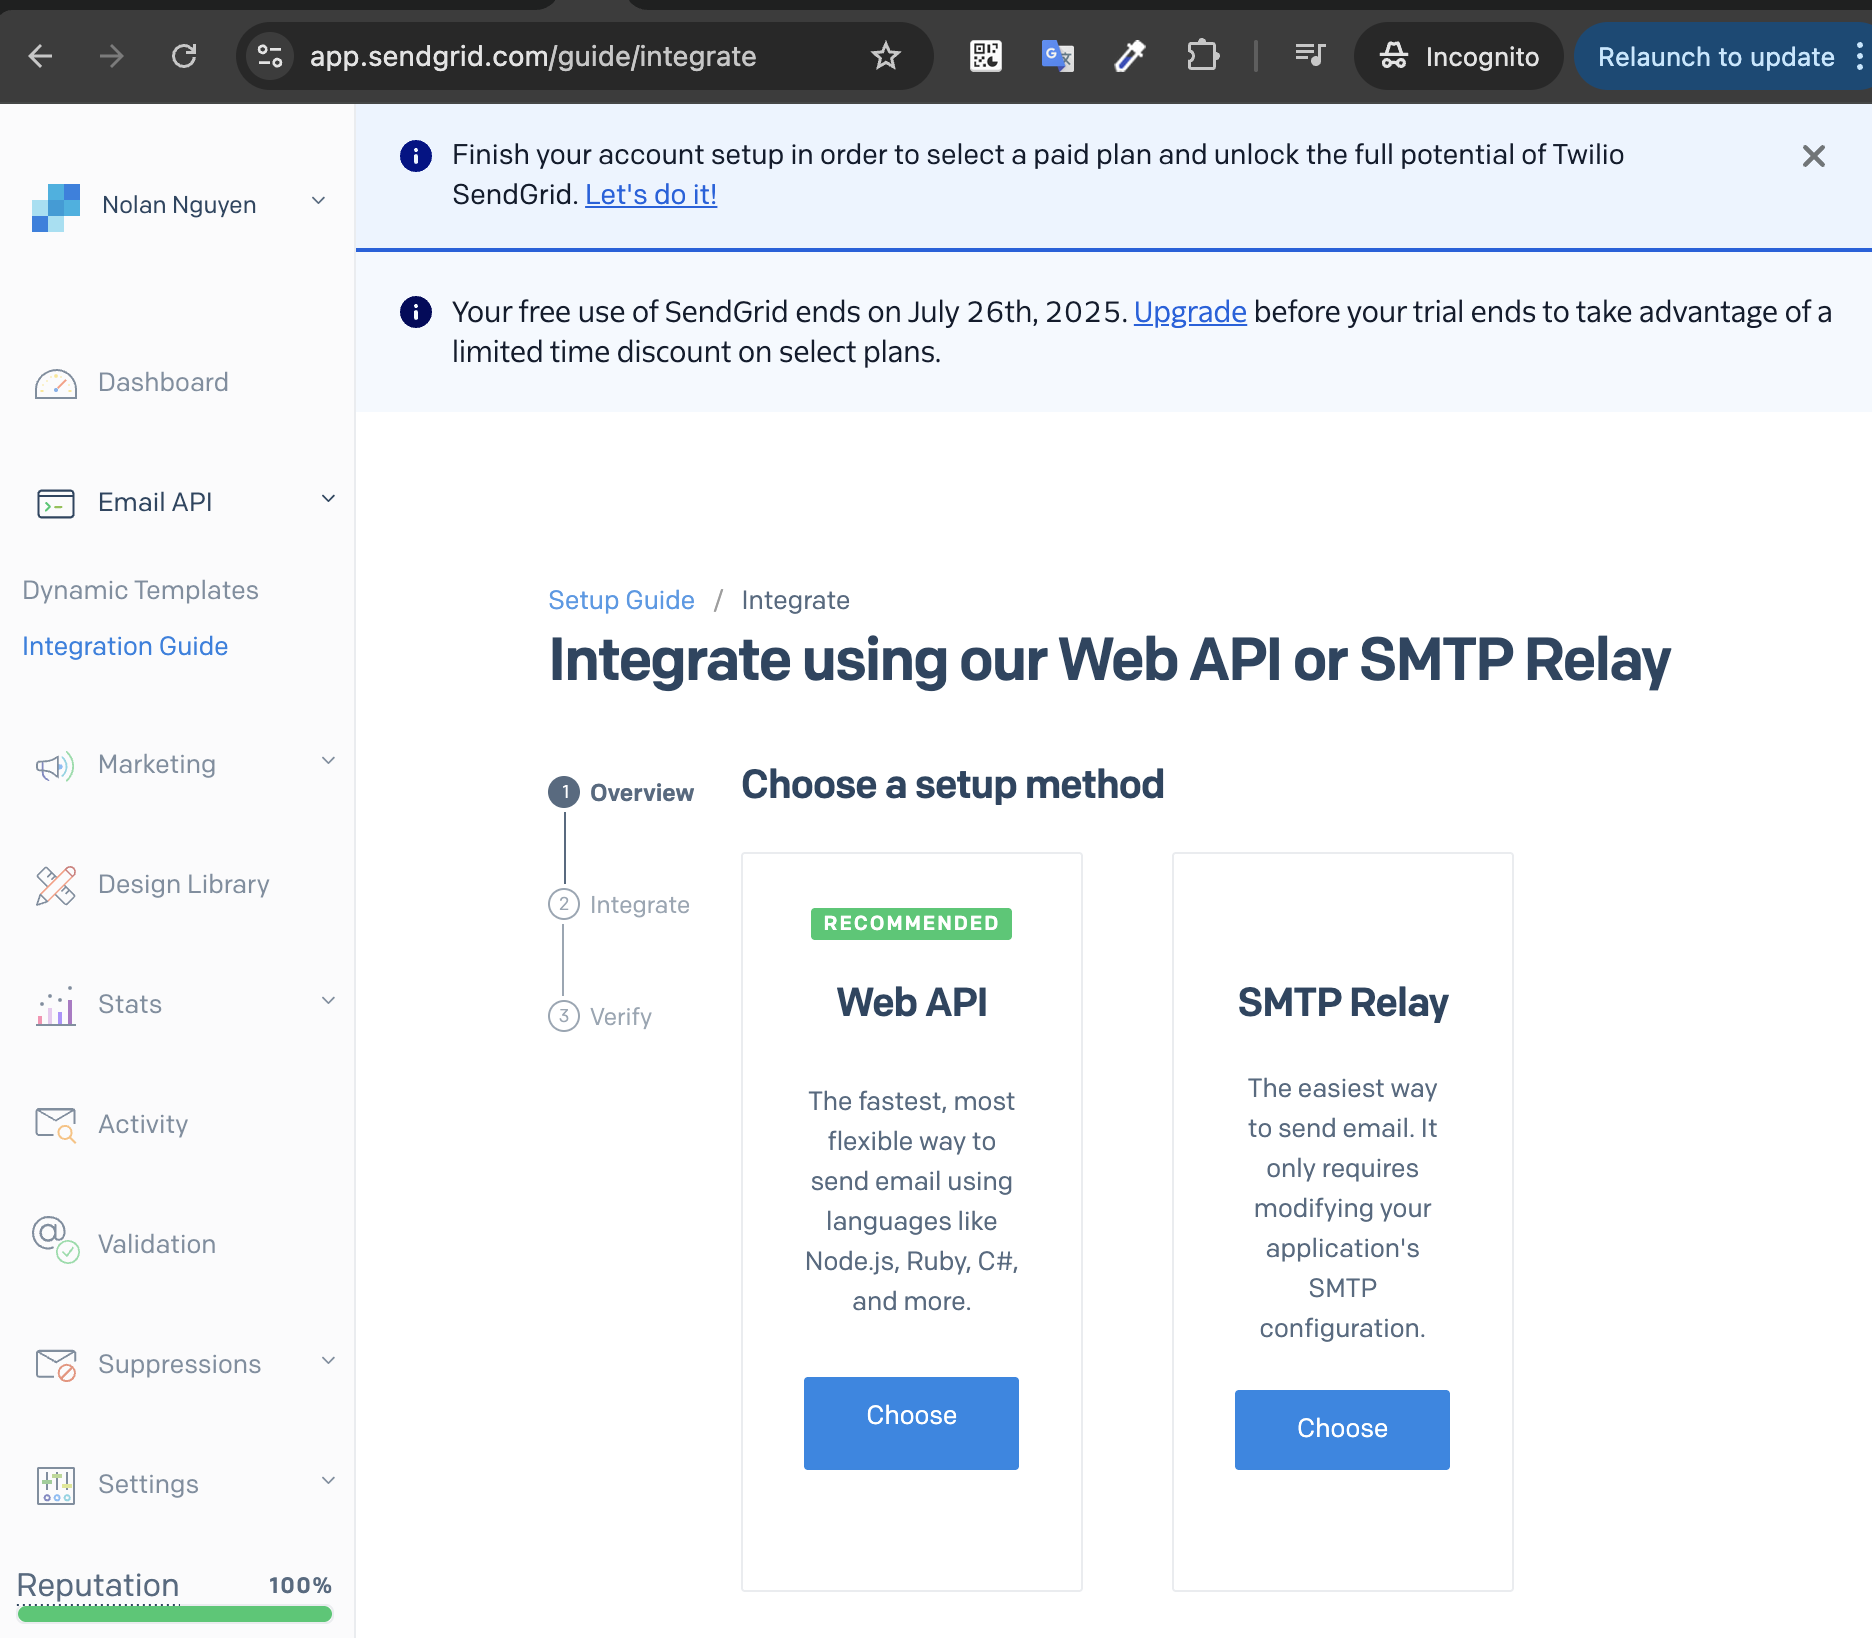
Sau khi hoàn thành bước xác thực, việc tiếp theo là tạo một API key mới.
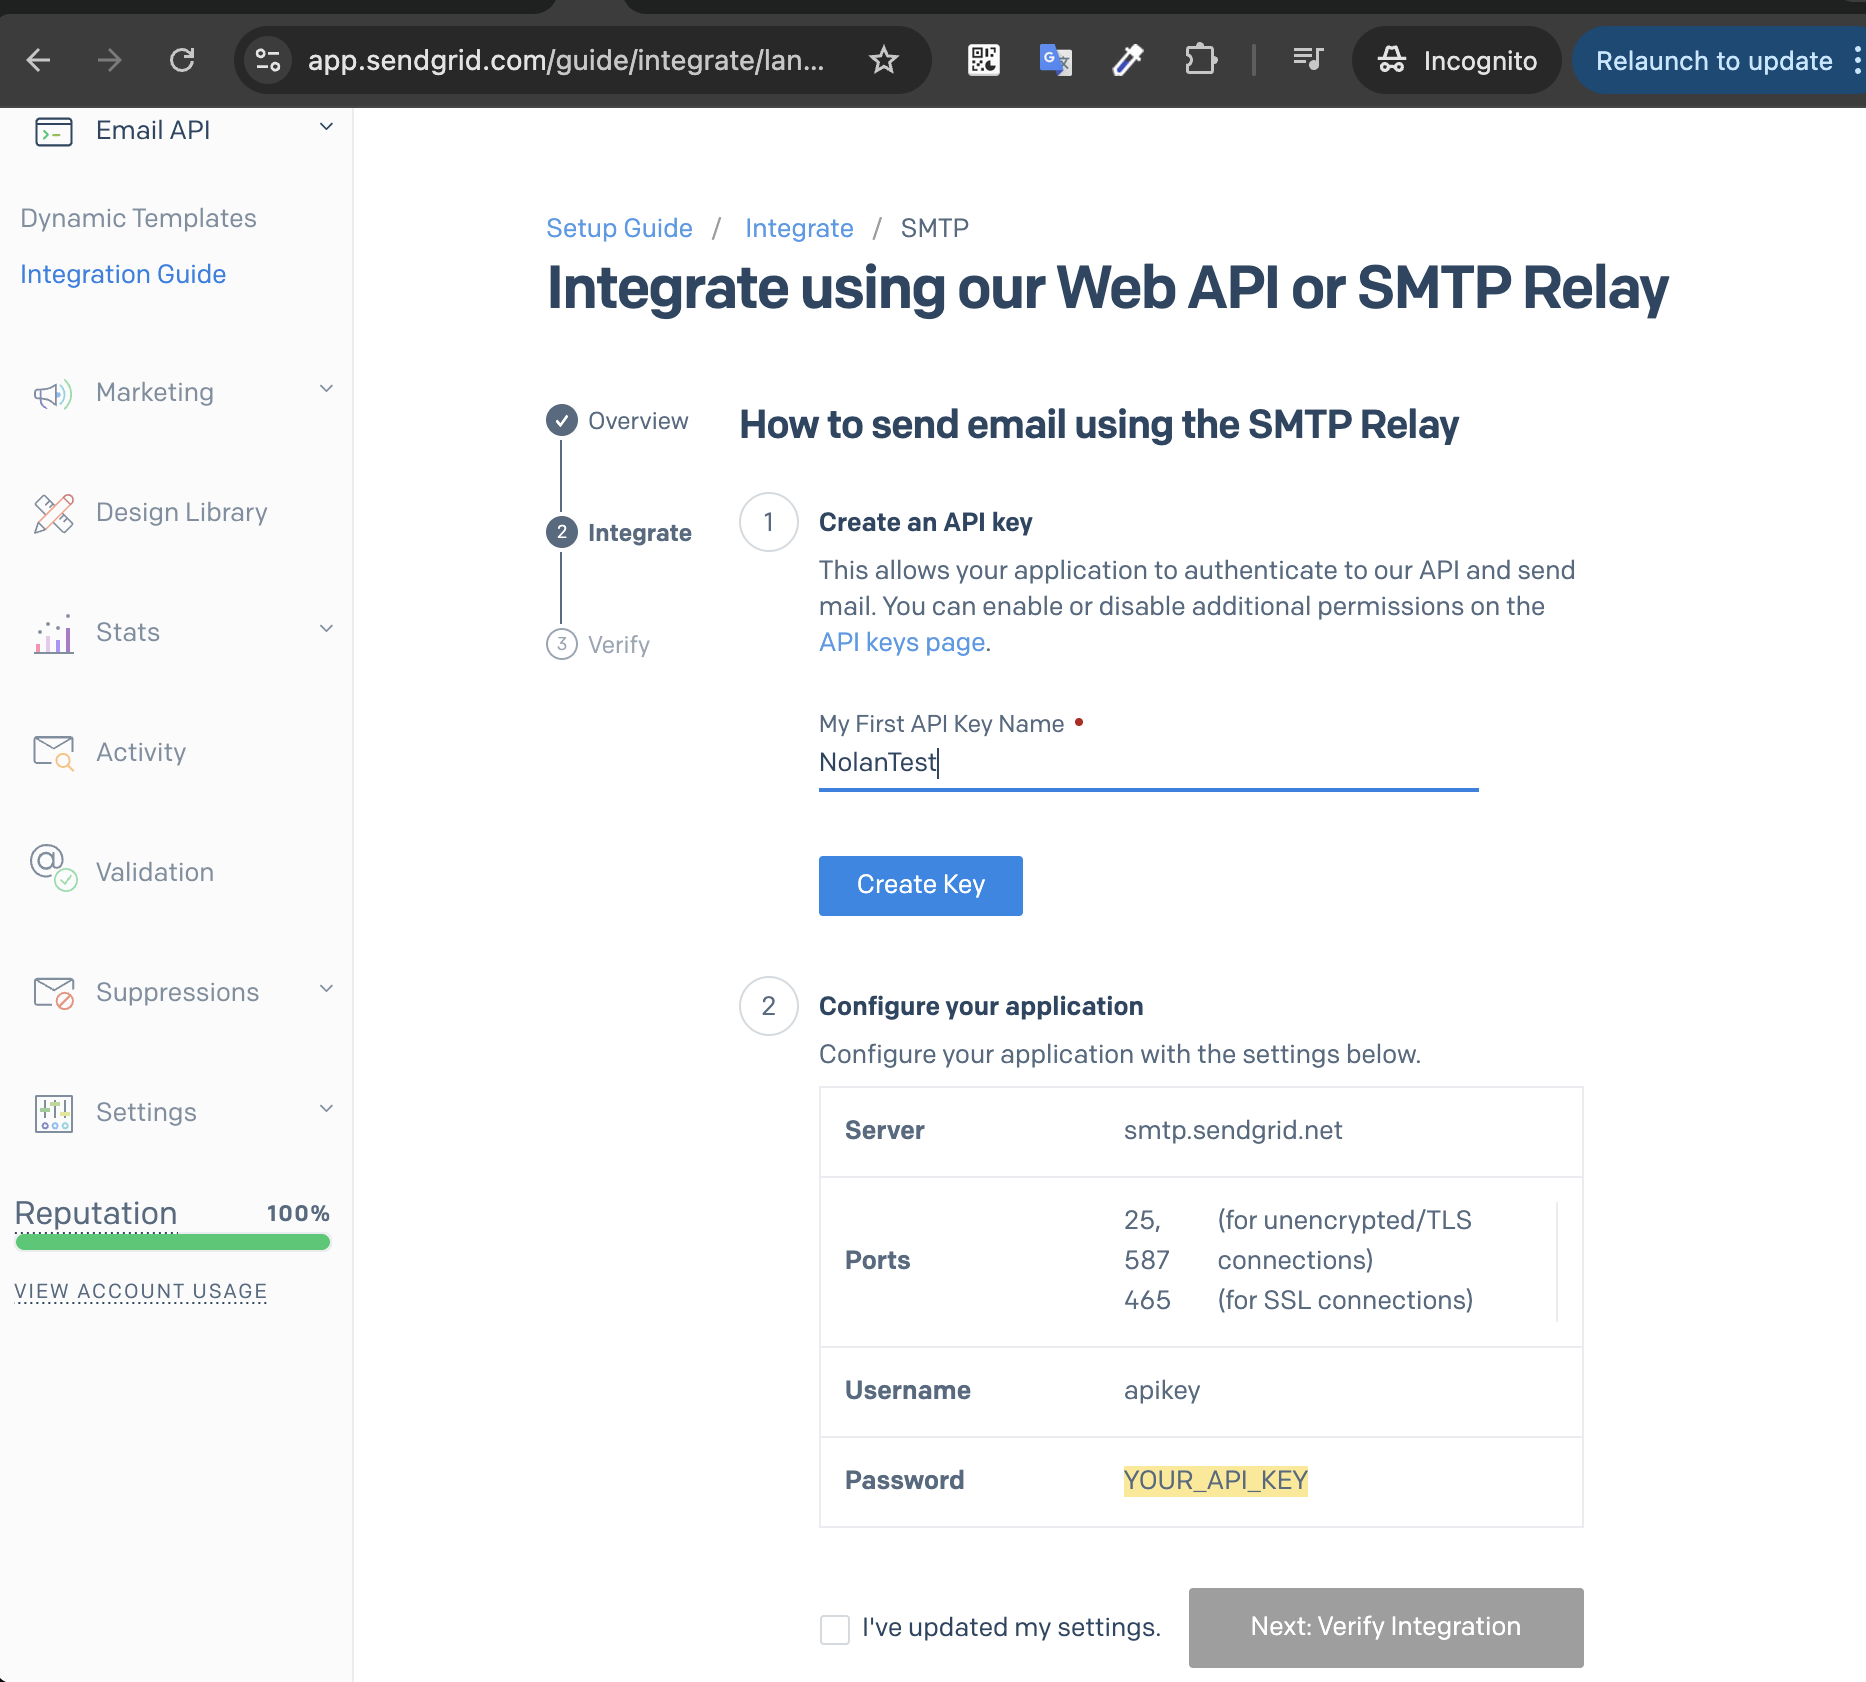
Sau khi nhấn Create key thì thêm các những env như sau vào rails app, chủ yếu là SMTP_PASSWORD, các giá trị khác không thay đổi.
SMTP_USERNAME=apikey
SMTP_PASSWORD=SG.xxxxxxxxxxxxxxxxxxxxxxxxxxxxxxxxxxxxxxxxxxx
SMTP_ADDRESS=smtp.sendgrid.net
SMTP_PORT=587
Chúng ta sẽ cần thêm một env nữa là SMTP_DOMAIN, chính là cái tên miền mà bạn đã xác thực ở trên. Nếu chưa có tên miền, thì các bạn có thể tạm bỏ qua cũng được.
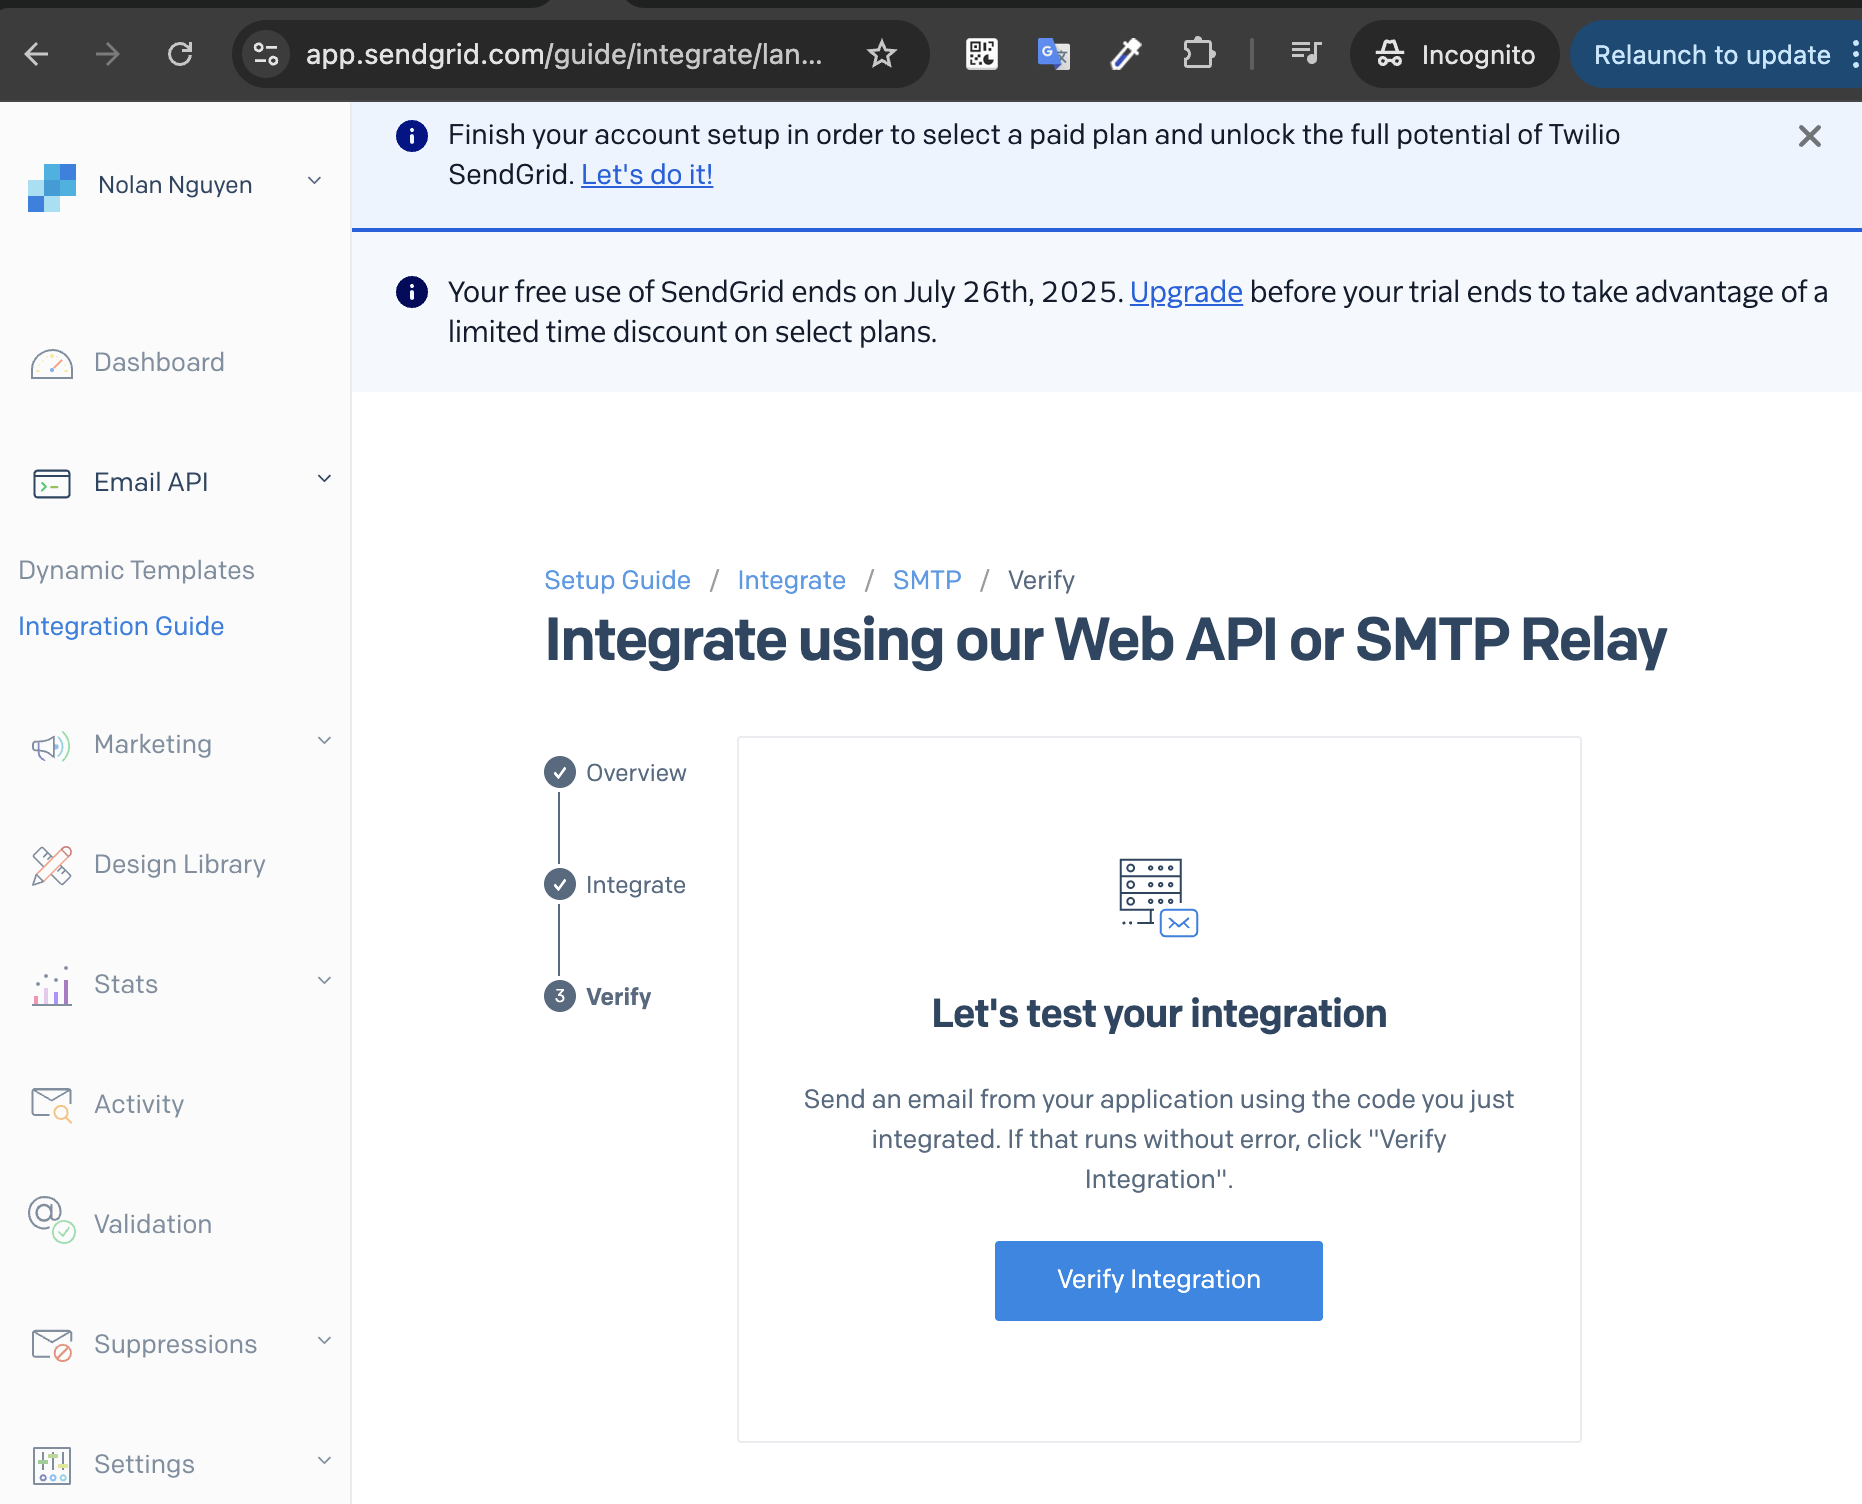
Chú ý lưu lại SMTP_PASSWORD và hoàn thành bước integrate.
2.ActionMailer config
Thêm SMTP config vào môi trường development.
# config/environments/development.rb
config.action_mailer.raise_delivery_errors = true
config.action_mailer.delivery_method = :smtp
config.action_mailer.smtp_settings = {
  :user_name => ENV["SMTP_USERNAME"],
  :password => ENV["SMTP_PASSWORD"],
  :domain => ENV["SMTP_DOMAIN"],
  :authentication => :plain,
  :enable_starttls_auto => true,
  :address => ENV["SMTP_ADDRESS"],
  :port => ENV["SMTP_PORT"]
}
Dùng ActionMailer để generate ra một mail template bất kì, ở đây mình lấy ví dụ là reset_password.
rails g mailer Auth reset_password
# create  app/mailers/auth_mailer.rb
# invoke  erb
# create    app/views/auth_mailer
# create    app/views/auth_mailer/reset_password.text.erb
# create    app/views/auth_mailer/reset_password.html.erb
# invoke  rspec
# create    spec/mailers/auth_spec.rb
# create    spec/fixtures/auth/reset_password
# create    spec/mailers/previews/auth_preview.rb
Set email người gửi mặc định ở file application_mailer.rb như sau, chính là email mà chúng ta đã xác thực ở trên.
# app/mailers/application_mailer.rb
class ApplicationMailer < ActionMailer::Base
  default from: 'nolan@vinova.com.sg'
  layout 'mailer'
end
Sửa lại một chút nội dung của mail. nào
# app/mailers/auth_mailer.rb
class AuthMailer < ApplicationMailer
  # Subject can be set in your I18n file at config/locales/en.yml
  # with the following lookup:
  #
  #   en.admin.auth_mailer.reset_password.subject
  #
  def reset_password
    @greeting = 'Hi'

    mail(to: 'dev.thach@gmail.com', subject: 'Reset password')
  end
end
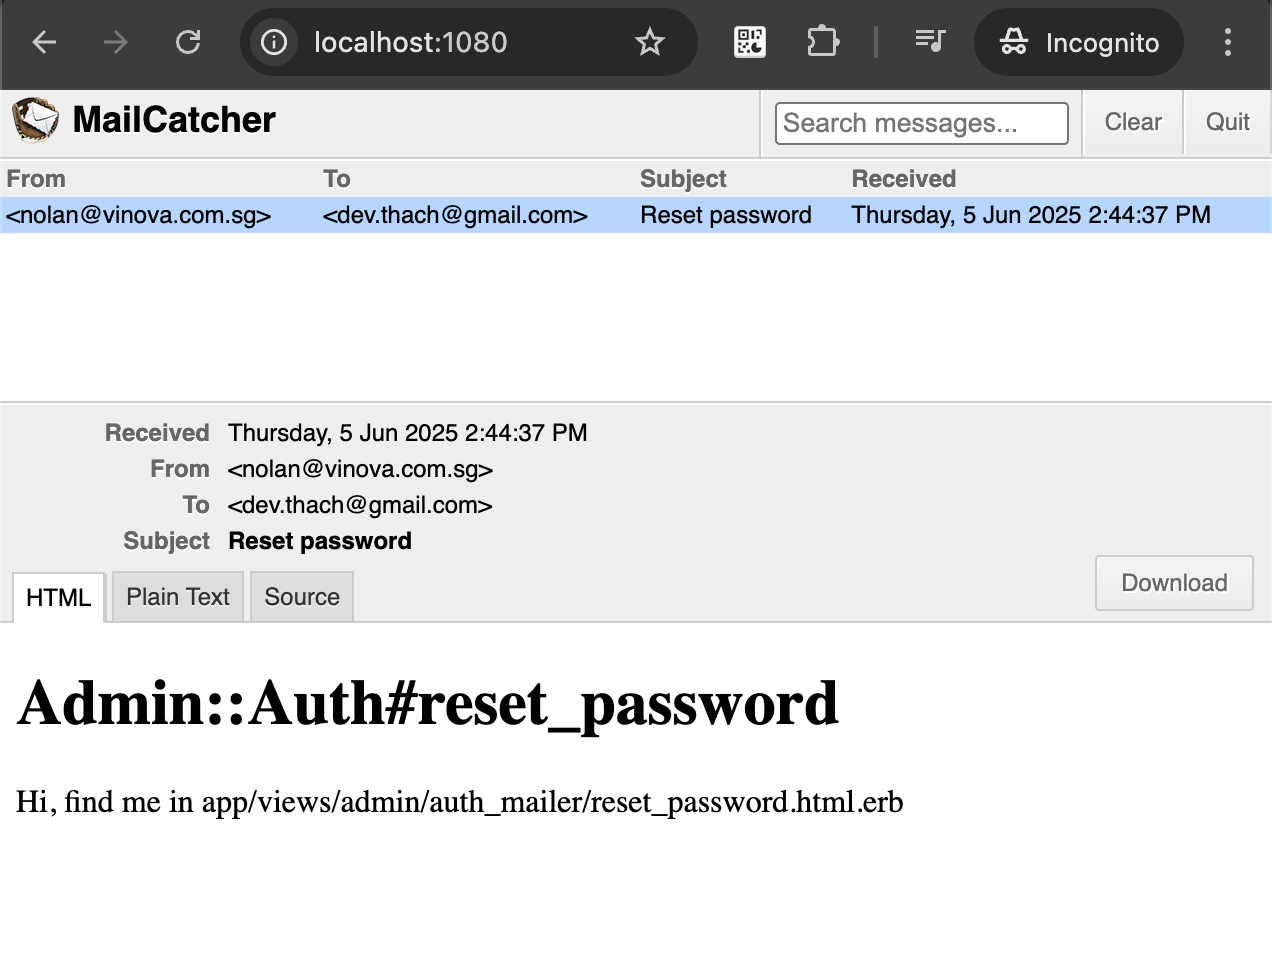
<!-- app/views/auth_mailer/reset_password.html.erb -->
<h1>Auth#reset_password</h1>

<p>
  <%= @greeting %>, find me in app/views/auth_mailer/reset_password.html.erb
</p>
Mọi thứ đã sẵn sàng để gửi mail đi.
# để test thử, chạy lệnh sau ở rails console
AuthMailer.reset_password.deliver_now
3. Test mail on development with Mailcatcher
gem install mailcatcher

mailcatcher
# Starting MailCatcher v0.10.0
# ==> smtp://127.0.0.1:1025
# ==> http://127.0.0.1:1080
# *** MailCatcher runs as a daemon by default. Go to the web interface to quit.
Lệnh mailcatcher sẽ khởi động hai máy chủ riêng biệt — Máy chủ smtp, nơi chúng ta muốn ứng dụng Rails gửi email của mình đến, máy chủ còn lại là máy chủ http mà chúng ta có thể truy cập thông qua trình duyệt để kiểm tra xem tính năng gửi mail đã hoạt động đúng hay chưa.
Giờ thì override lại smtp setting trong development.rb. Tới bước này, chúng ta có thể copy mail config ở trên sang cho develop.rb, staging.rb hoặc production.rb được rồi. Còn dưới môi trường development thì chỉ nên gửi mail thông qua mailcatcher, tránh khả năng bạn vô tình gửi mail tới khách hàng trong quá trình test thử tính năng.
# config/environments/development.rb
config.action_mailer.smtp_settings = { address: '127.0.0.1', port: 1025 }
3.1. Gửi mail qua hàng đợi của Sidekiq
# config/environments/development.rb
  config.active_job.queue_adapter = :sidekiq
  config.action_mailer.perform_deliveries = true
  config.action_mailer.deliver_later_queue_name = 'default'
AuthMailer.reset_password.deliver_later
Explore more like this
Comments